Harnessing a solar energy system is one of the smartest ways to lock in lower electricity bills and boost your home’s value. This guide walks you through every step of your solar installation, tailored for Las Vegas homeowners.
Assess Your Home’s Solar Potential
Before you commit to install solar panels, it’s crucial to understand if your home is suitable for a solar system and how much you can save. This section walks you through evaluating your roof and energy needs.
To get started, consider these factors that determine how many solar panels you’ll need and whether rooftop panels make sense for you:
- Calculate your energy needs. Review recent electric bills to determine your average monthly kilowatt‑hour (kWh) usage and how much electricity you currently draw.
- Estimate system size. Divide your monthly kWh by average daily sun hours (Las Vegas averages 5.5 kWh/m²/day) to gauge panel count.
- Use online tools. Platforms like Google’s Project Sunroof or Solar MapsLV (a community solar tool) help visualize roof shading and panel placement.
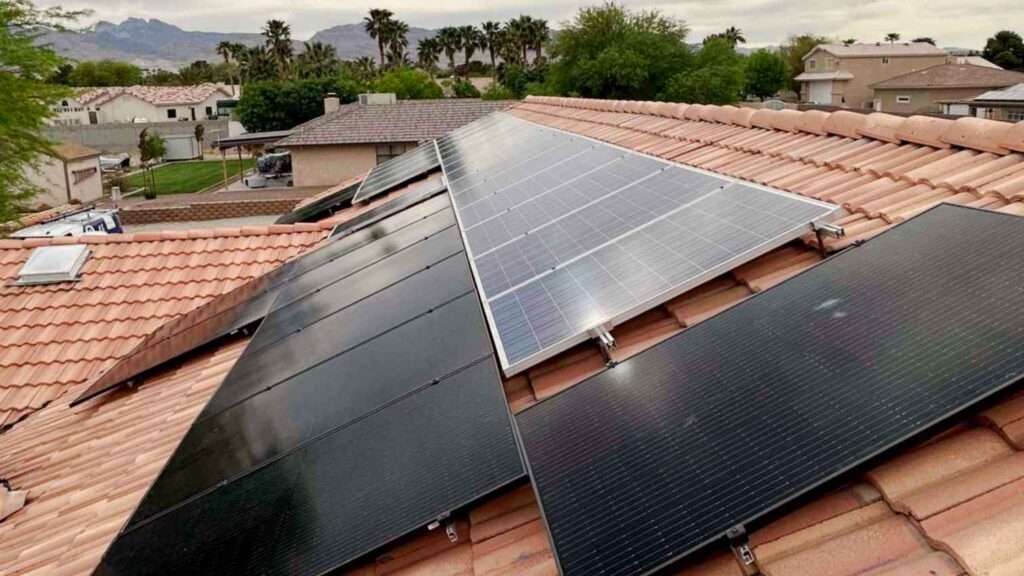
- Assess roof orientation and tilt. South‑facing panels at a 25° angle capture maximum sunlight, boosting energy production.
- Identify obstructions. Trees, vents, or chimneys can cast shade and reduce output by up to 10 %, so note any other factors that might block the sun’s energy.
Get Quotes and Choose the Right Installer
Once you know your roof and usage are a good match, the next step is to compare solar providers and decide who will install panels on your home. Here’s how to get clear, apples‑to‑apples quotes.
When you talk to each company, these questions ensure you’re comparing the best solar panels and services:
- Price per watt. Typical Las Vegas rates run $2.50–$3.50/W, though this can vary depending on panel type and system design.
- Panel efficiency. As reported by the U.S. Energy Information Administration, monocrystalline PV panels can achieve efficiencies of up to 22.8%.
- Inverter choice & electrical wiring. Decide between string inverters or micro‑inverters—and ask who does the electrical work or if you need a professional electrician.
- Warranties & guarantees. Seek at least a 25‑year panel warranty, a 10‑year inverter warranty, and workmanship coverage.
- Financing & incentives. Explore cash purchase, solar loan, or solar lease, plus financial incentives. According to the DOE Guide to Federal Tax Credit for Residential Solar PV, homeowners can claim a 30% Federal Investment Tax Credit to offset their installation expenses.
Navigate Permits and Utility Approvals
No matter which installer you choose, necessary permits and a green light from your local utility are non‑negotiable before you can flip the switch on your solar power system.
Let’s break down each approval process:
Clark County Building Permits
Your solar panel installation can’t begin until the local building department signs off. Your installer typically handles paperwork, but you should know the steps:
- Register online. Create an account on the Clark County Building Department portal.
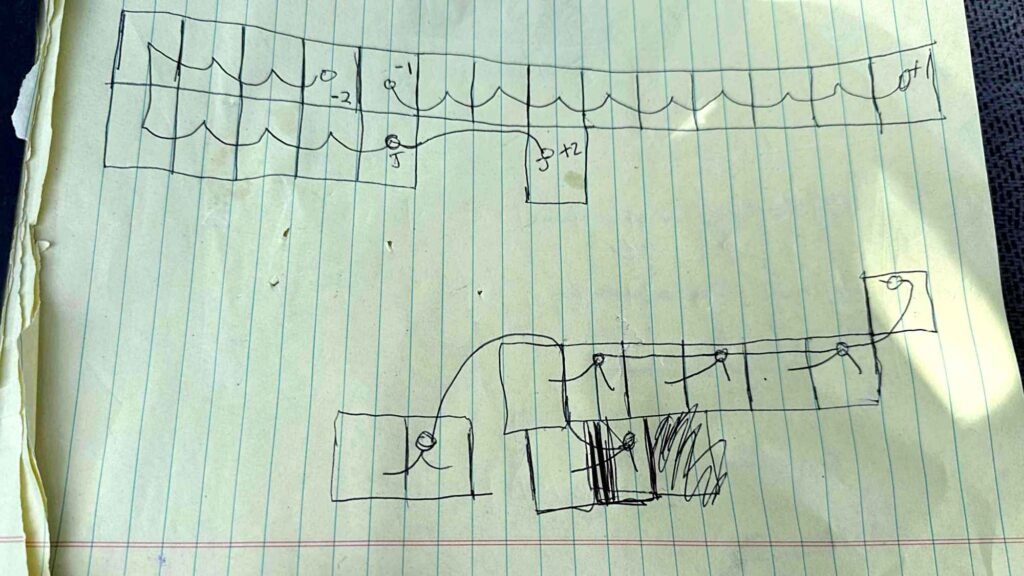
- Submit site and electrical plans. Include system design diagrams showing alternating current routing.
- Pay permit fees. Residential fees usually run $200–$400.
- Schedule inspections. Structural and electrical reviews can add 7–14 days to your timeline.
NV Energy Interconnection (Permission to Operate)
After permits, you need NV Energy’s approval to feed excess power back to the grid:
- Apply through the NV Energy portal. Provide your one‑line wiring diagram and system specs (kW, inverter).
- Await PTO approval. Typically 5–10 business days.
- Pay interconnection fees. These vary from $50–$150 depending on system size.
Solar Installation Permit and Interconnection Process
| Task | Agency | Fee Range ($) | Approval Time |
|---|---|---|---|
| Building permit submission | Clark County Bldg. Dept. | 200–400 | 7–14 days |
| Structural & electrical inspection | Clark County Inspector | Included | Concurrent w/permit |
| Interconnection application (PTO) | NV Energy | 50–150 | 5–10 business days |
| Meter replacement & net-metering setup | NV Energy | Included | 1–2 weeks after PTO |
Prepare Your Roof and Site for Solar Equipment
With permits and interconnection lined up, it’s time to get your roof ready. Proper preparation prevents delays and ensures safety while you install solar.
Before the install crew arrives, confirm these site‑prep steps:
- Engineer site visit. A structural engineer confirms your rafters can handle roughly 150 lbs per kW.
- Shade analysis & trimming. Remove branches or vents that impede maximum sunlight exposure.
- Scaffolding & safety measures. Guardrails, toe boards, and OSHA‑compliant harnesses must be in place before work begins.
- Equipment staging. Ensure clear access for solar PV panels, rails, inverters, and tools.
Execute the Solar Panel Installation Process
Now the real action: over 1–3 days, your solar panel system goes from boxes to clean‑energy powerhouse. The steps below keep everything on track and to code.
Follow this order of operations for a smooth install solar panels experience:
- Mount rails to roof. Secure aluminum rails with stainless‑steel lag bolts into rafters.
- Attach panels. Snap or bolt PV modules onto rails at the correct tilt.
- Run DC wiring. Connect panel strings and route cables to the inverter location.
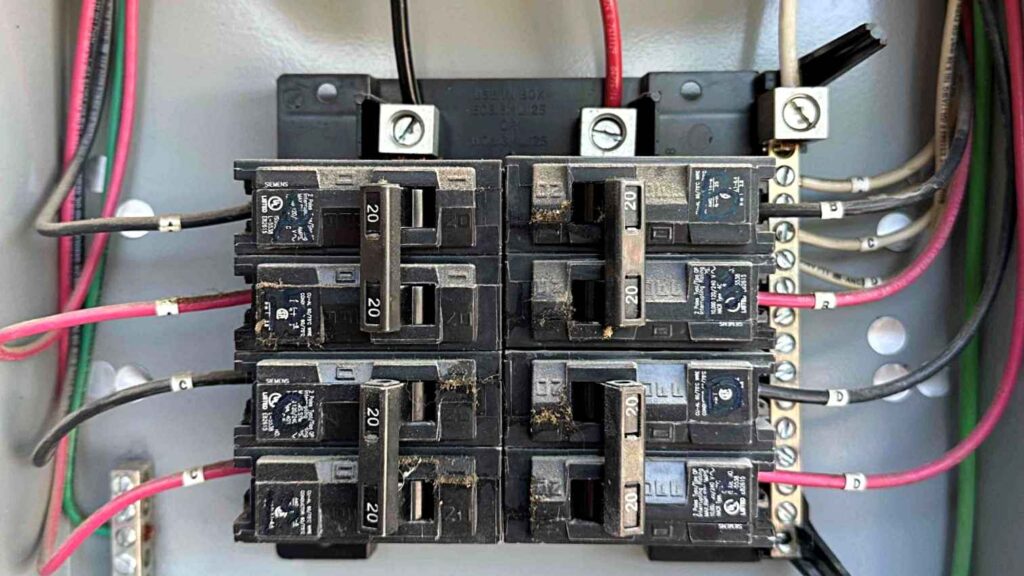
- Install inverter & AC wiring. Position inverter near the main breaker panel, then run alternating current lines.
- Grounding & bonding. Complete per the National Electrical Code to prevent faults.
- Mid‑install inspection. Local inspector checks structural and electrical compliance.
Complete Inspections and Activate Your System
After panels are in place, final checks turn your project from construction to active energy production:
- Final building inspection. Clark County conducts structural and electrical inspections (15–30 days post‑install).
- Meter swap by NV Energy. Your old meter is replaced with a bi‑directional unit for net‑metering.
- Permission to Operate sign‑off. Installer confirms PTO and flips the switch.
- System commissioning. Turn on the inverter, verify power output, and celebrate your first watts of clean energy!
Monitor Performance and Maintain Your Panels
Even after panels are installed, proactive maintenance preserves output and extends lifespan:
To keep your system running at peak efficiency, follow these ongoing practices:
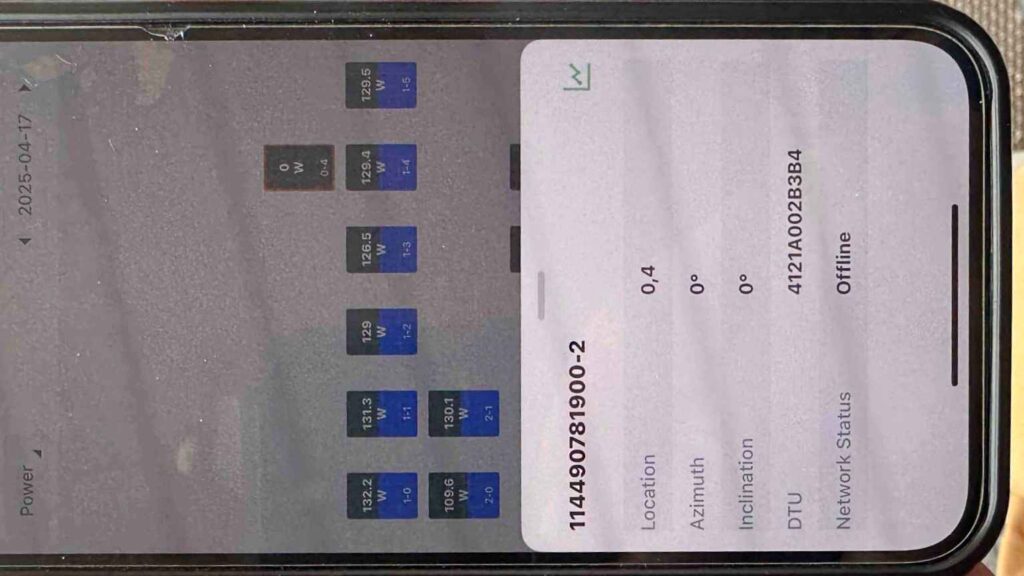
- Real‑time monitoring. Use your inverter’s app or web portal to track daily kWh and spot anomalies.
- Regular cleanings. Rinse panels every 3–6 months, especially after monsoon‑season dust or pollen storms.
- Annual solar inspection. Hire a qualified technician each year to check for wear, loose wiring, or shading changes.
- Warranty support. Contact Bob’s Repair Solar for repairs under your panel or inverter warranties.
Your Solar Success Checklist and Next Actions
You’re now equipped to install panels confidently and save money on energy costs. Use this quick checklist to finalize your plan:
- Review energy usage and roof suitability with solar sizing tools.
- Request quotes from at least three NABCEP‑certified solar installers.
- Submit Clark County permit application and NV Energy interconnection simultaneously.
- Prepare rooftop access, site staging, and all required documents.
- Plan first‑month monitoring and set up a maintenance schedule.
Ready to power your home with renewable energy and lower electricity bills?
Visit our Solar Installation Services to learn how Bob’s Repair can design, permit, and install your rooftop panels for maximum savings and reliability.
